Transforming Table: Flexible Furniture for Small Spaces

My good friends Scott and Tania recently moved into their shiny new laneway house. Tania wrote a nice review of my work on her blog, and includes a good picture of the piece in its home.

Flexible furniture is one way of making the most out of a small space. A flexible piece of furniture embodies similar materials and energy to a conventional piece, but is more valuable to the user because it fits their life better. Further, something that fits a space well and is built to last is less likely to be replaced. In this way, design effort, meaning human attention, can make a dramatic difference in the real world value of an end product.

I started with a consultation and lots of sketches, and moved on to CAD to sort out the geometry, estimate the materials I’d need, and make sure everyone was happy with how it would look.

CAD plans

I settled on birch ply for the casework and top surfaces because it’s strong, dimensionally stable, and straightforward to work with.

The legs are solid alder, to match the casework in their home. I machined custom aluminum plates to reinforce the leg joints and add a bit of industrial bling.They swing on heavy-duty gate hinges, which were needed to minimize swaying due to slop in the hinge joints.

under construction, nearing completion

The two draw-leaves are brought even with the main table top with a custom lift mechanism that uses UHMW plastic ramps and a pull handle, one for each side. The leaves and legs are mounted on heavy duty ball bearing slides, so the footprint of the table expands as the surface area does. This leaves the center free for people to comfortably stretch their legs, which was a major usability design goal, and also makes the table look surprisingly svelte in the ‘up’ configuration.

underside: how to cram a full-size table into a tiny space

The legs were finished with clearcoat, and the top was hand painted a glossy white, to match the interior of the house it lives in.

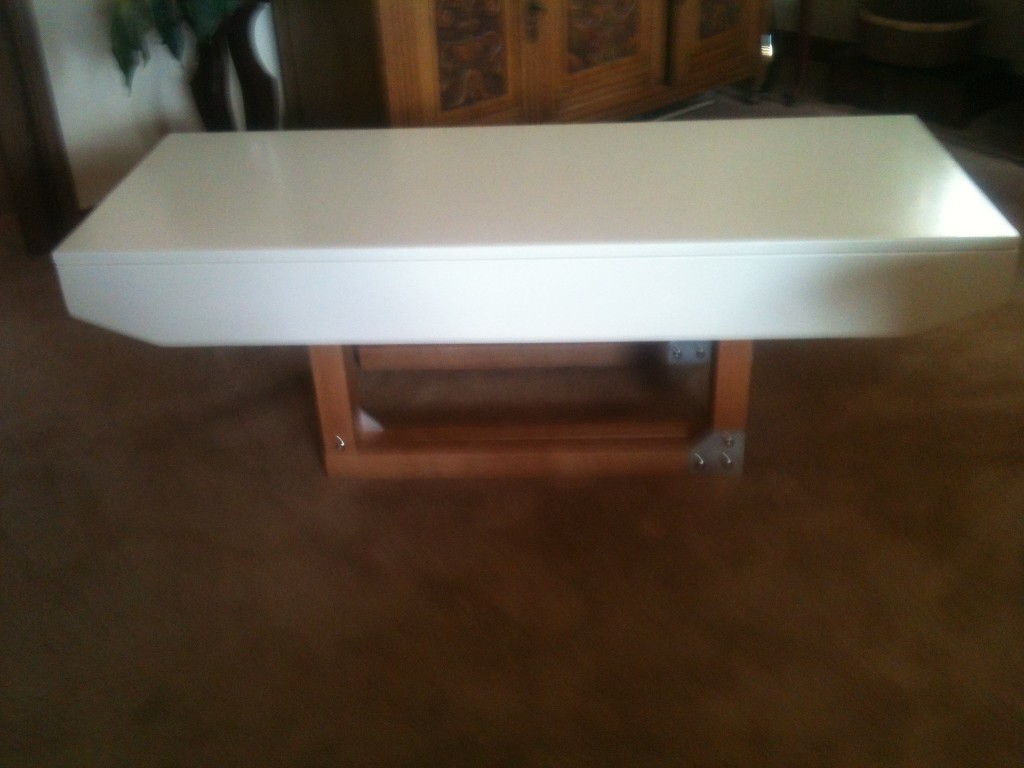
coffee table

This is a one-off and a bit of a prototype, but it still performs as expected. It’s quite the puzzle to account for the intersecting and overlapping geometry in different positions, and give sufficient tolerances for things to move without having the mechanism be loose. Doing a full set of scale drawings was invaluable: I managed to build the entire table without wasting any wood to wrong cuts.

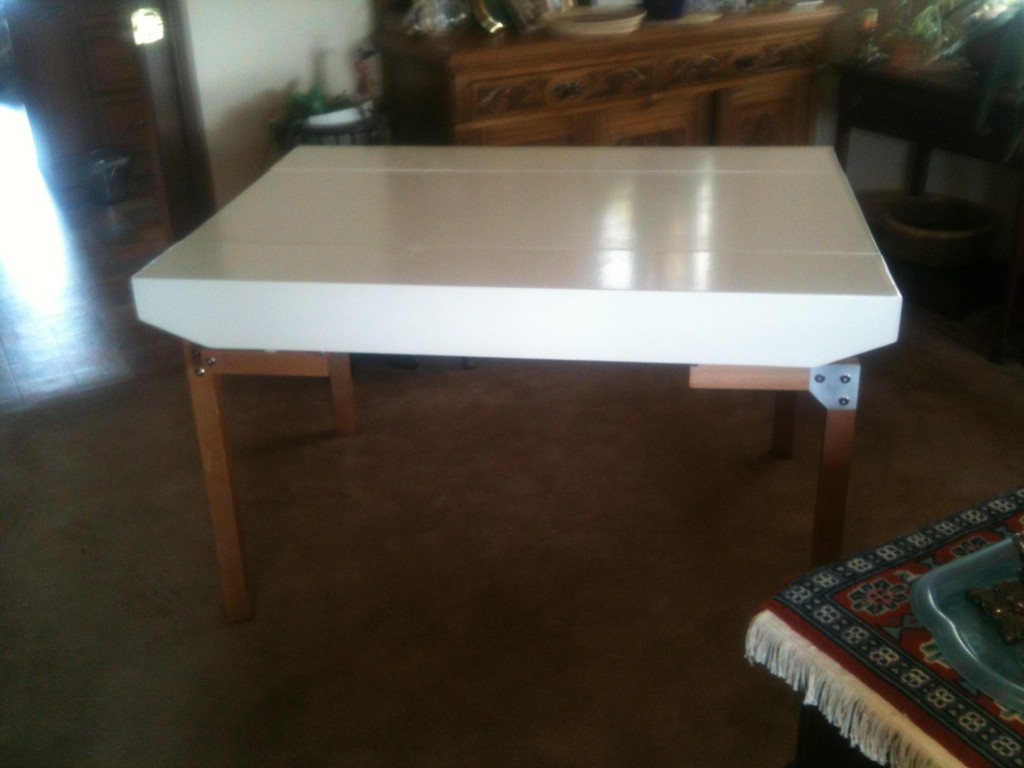
full size dining table!

I suspect I’ll be making a lot more of these kinds of pieces as urban living gets increasingly cramped, and people come to expect more from their objects than a single static use.

Renovation Highlights

I spent many months living in the chaos and filth of an ongoing renovation, done part time from fall 2011 to spring 2012 while I did CAD and electronics assembly work.  It’s all done now, and my partner and I have enjoyed our shiny, new, and more usable surroundings immensely.

The work involved a complete redo of the kitchen, 450 square feet of wide plank engineered bamboo flooring, including the staircase, a new fireplace surround, and lots of painting, moldings, and finishing touches. Here are some of the highlights.

Custom floating kitchen shelves

kitchen sketch: before demolition to be sure we liked the direction we were headed.

Made of 2 layers of 5/8″ baltic birch ply laminated together, these shelves are bombproof. Edges are finished with birch veneer edge tape, and they were sprayed with a combined stain and varnish.

shelves getting sprayed

The shelves are supported by a recessed wood cleat, screwed into the studs, and by screws through the adjacent cabinets. The result is tons of extra storage, a sleek modern look, and easy access to those corners that are horribly unusable with most cabinet systems, especially if you’re limited by your budget to factory built options like the Ikea units I installed here.

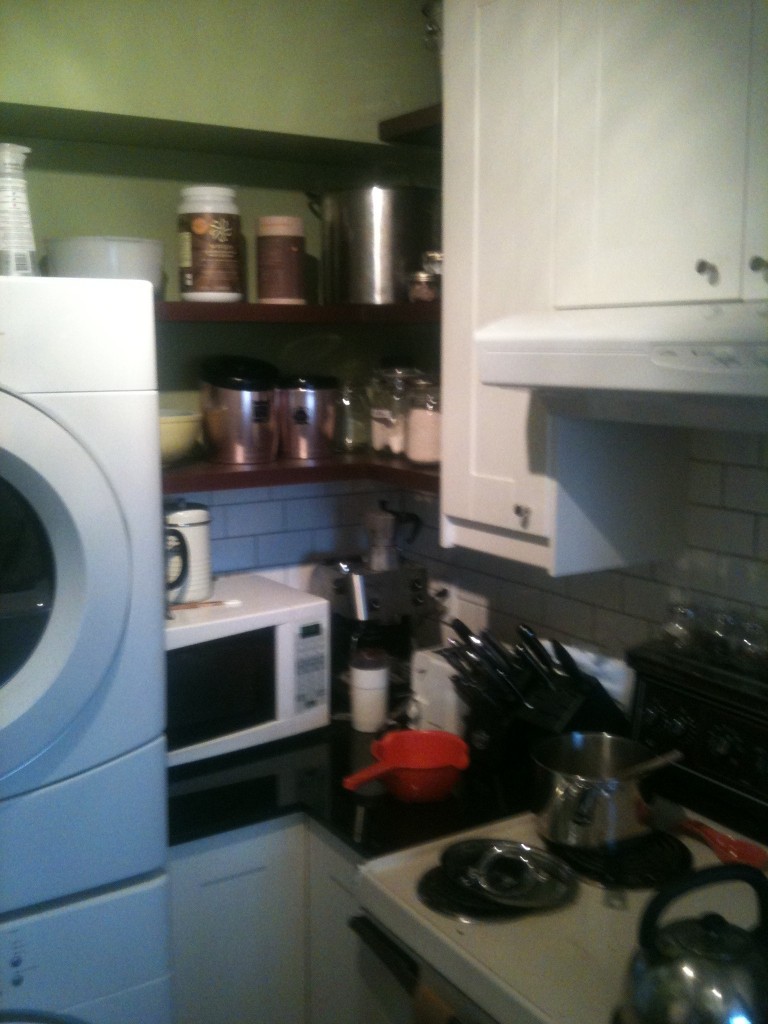
corner shelves: copious & accessible storage, with more on the opposite side of the room

Fireplace surround

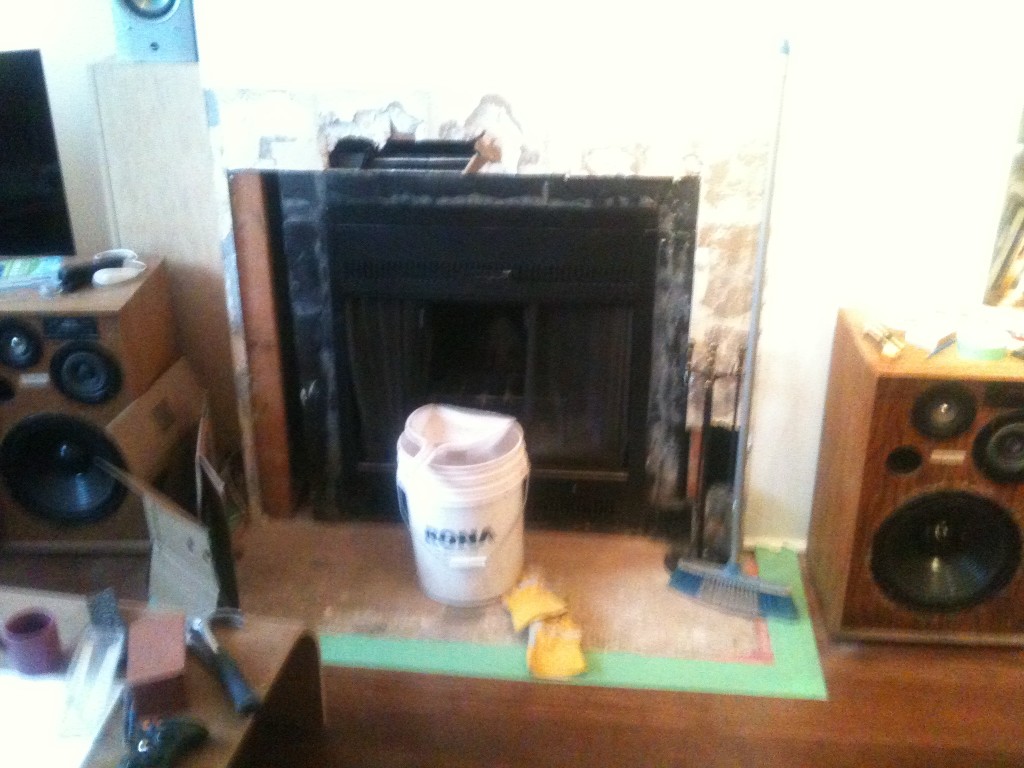
demolished.

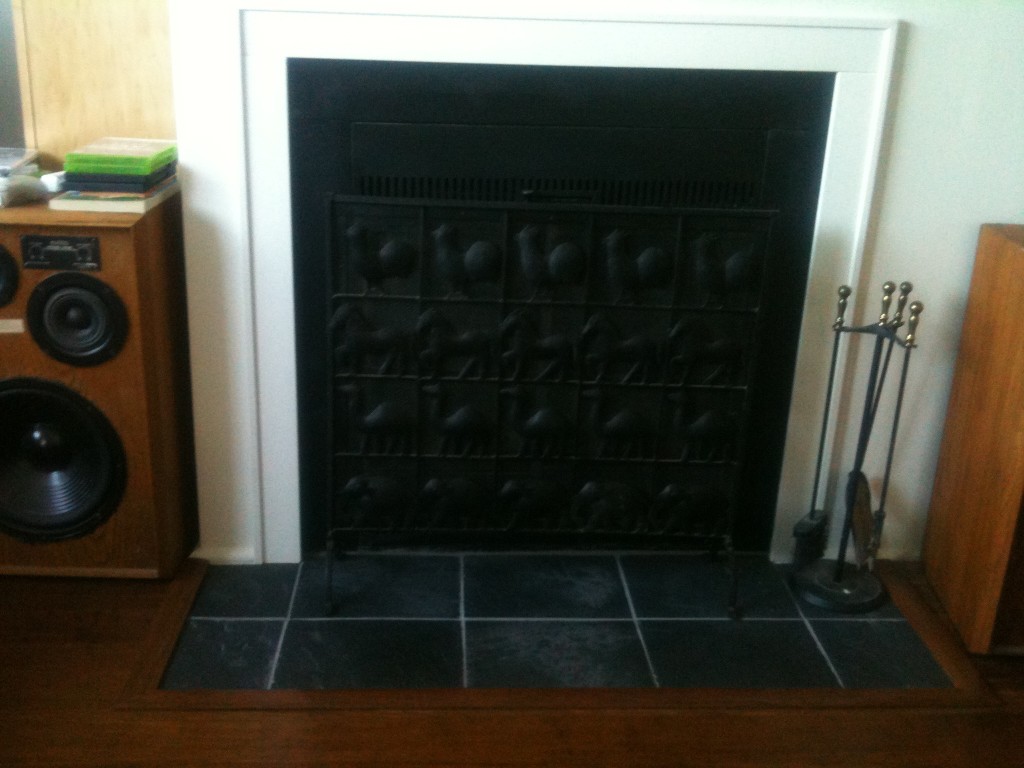
After installing new flooring, the original orange glazed terracotta tile (replete with some chips and cracks) had to go. I got a good deal on the black slate, and used it to finish our solarium windowsill as well. Patching the drywall was a test of patience, and using a cheap, low power wet saw to cut the slate tile required all the finesse I could muster, but the results are clean and sleek and match the rest of the place nicely.

new fireplace surround: moldings and slate flooring

 Shoe storage stairs

The entry way lacks a closet, and two people, especially with my size 13 feet, need somewhere to put their shoes. Why not reclaim some of that wasted space? Pretty straightforward: a plywood box as big as I could make for the bottom couple of stairs.

finished shoe storage stairs

The finish carpentry on the stairs was a massive project in itself… when a single piece of nosing costs $80 you can’t afford to make mistakes, even with crazy miter cuts and intersections. But after the requisite struggle, it came together nicely.