This was a fun project for a few reasons: it’s nice to make something really practical that works well on the first iteration, it’s a pleasant change to not have to worry too much about finishing, and it’s gratifying to complete a project in a single afternoon.

bike rack: easy storage for 3 bikes of almost any size and shape.
The project parameters are straightforward, but there are quite a few considerations. At the most basic, it’s a low-cost rack to store 3 bikes in as compact a space as practical. The space the rack lives in doesn’t have a wall or ceiling to hang from, and bolting to the floor is a non starter. It has to be general purpose enough to handle any kind of bike.
I started by measuring the space and some pertinent dimensions of the bikes in question. Then I did a quick image search of different approaches others have taken.
There were three options that dominated. The approach that seems to garner a lot of drooling from those that follow the design blogs involves hanging the bikes by the wheels or top tube on hooks, but that requires a wall to bolt onto, a bike with a particular type of frame, and of course the need to lift and wrestle the bike into place. With a step-through framed, balloon-tired E-bike among those I need to support, this option is quickly eliminated. Roll-in, roll-out is clearly the way to go.
The second approach uses a slot that the wheel sinks down into. Some quick mock ups with scrap 2×4’s showed that this could work well if the slot was either very deep, or very tightly fitted to the wheel. This requires lots of material, or rather, material of a different sort than what I had on hand, and isn’t as supportive as I wanted anyways. To be flexible and work with both 3†knobby mountain bike tires and 23mm road tires requires some sort of adjustment of the slot width as well, and that’s added complexity I’d rather avoid.
The third option is what I’ve gone with: a vertical slot for the front edge of the wheel. This works equally well with multiple sizes of wheels and tires, and provides very secure support since the point of contact of the wheel with the rack is well off the ground, giving lots of leverage. You can envision that the bike can only lean a couple of degrees before the wheel leans against the support, even if wheel widths vary dramatically.
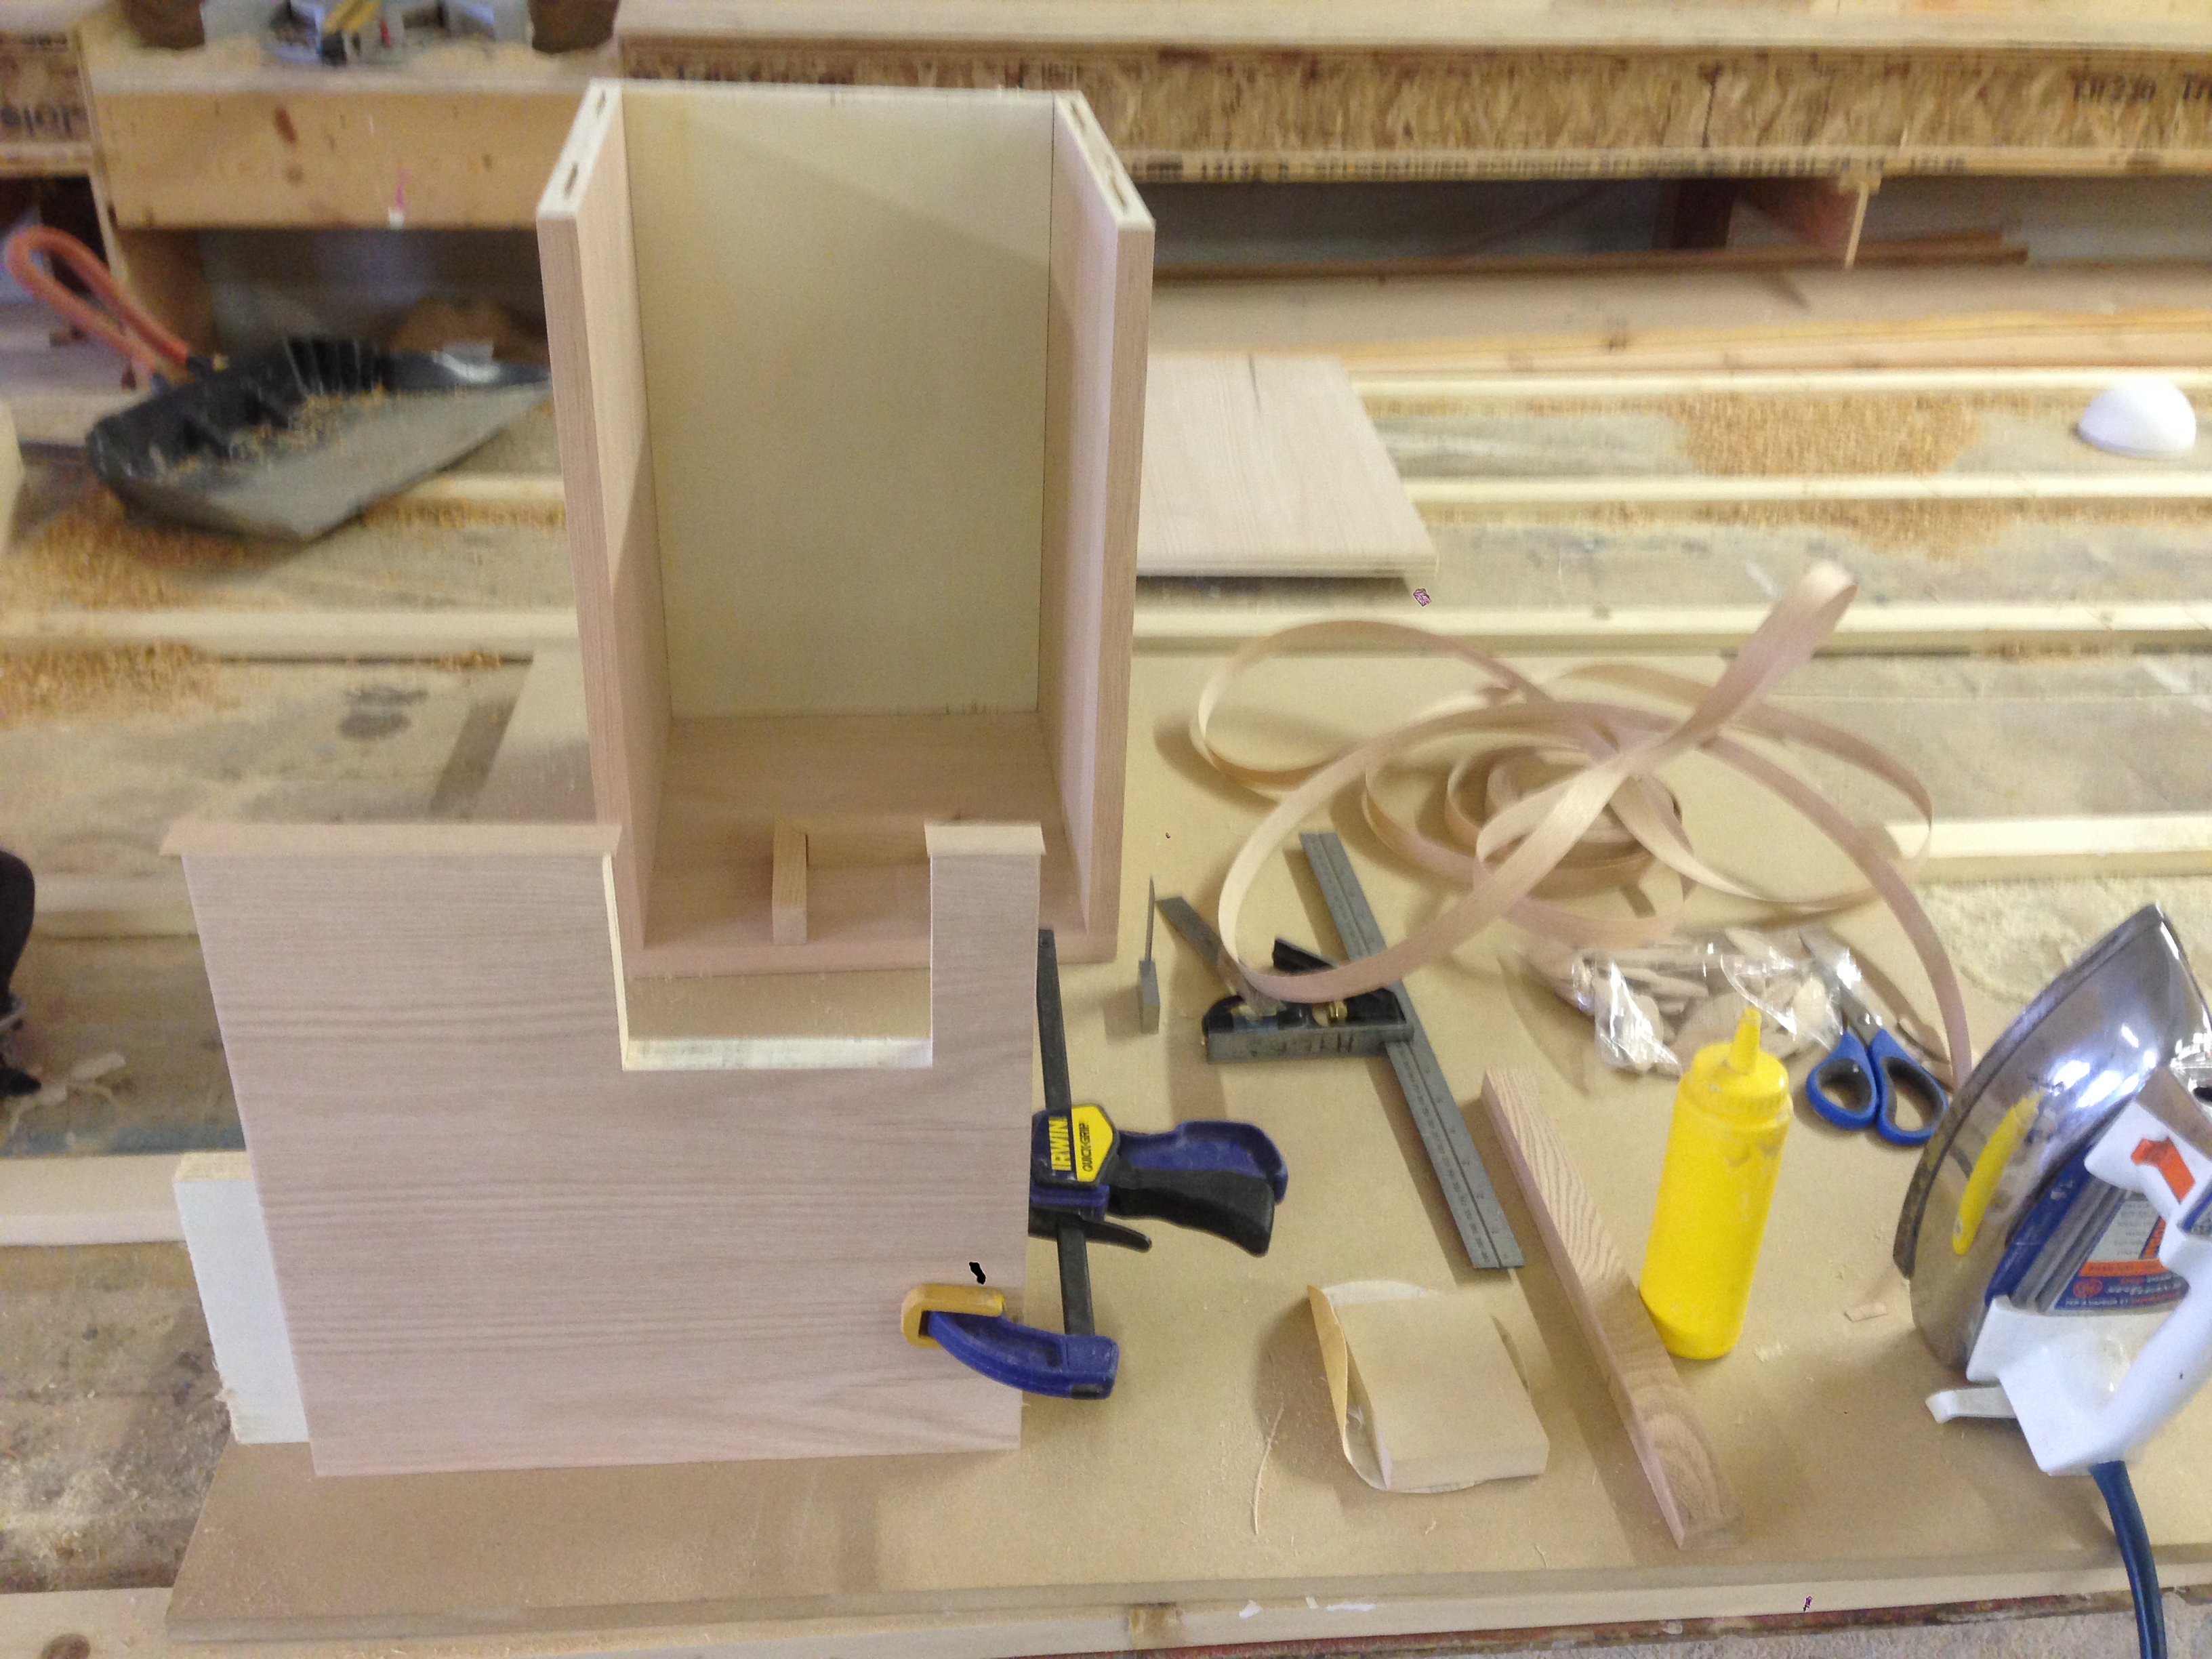
The rack is made from reclaimed softwood, rescued from the garbage after a previous application as some wobbly storage shelves.  There are some screw holes and rabbets in the reclaimed wood which I incorporated into the rack as was reasonable and ignored when it didn’t influence the structural integrity. The lumber was left unfinished since it’s a utilitarian piece done on the cheap and stored inside, but obviously a coat of paint or stain could clean things up a bit and enhance durability.
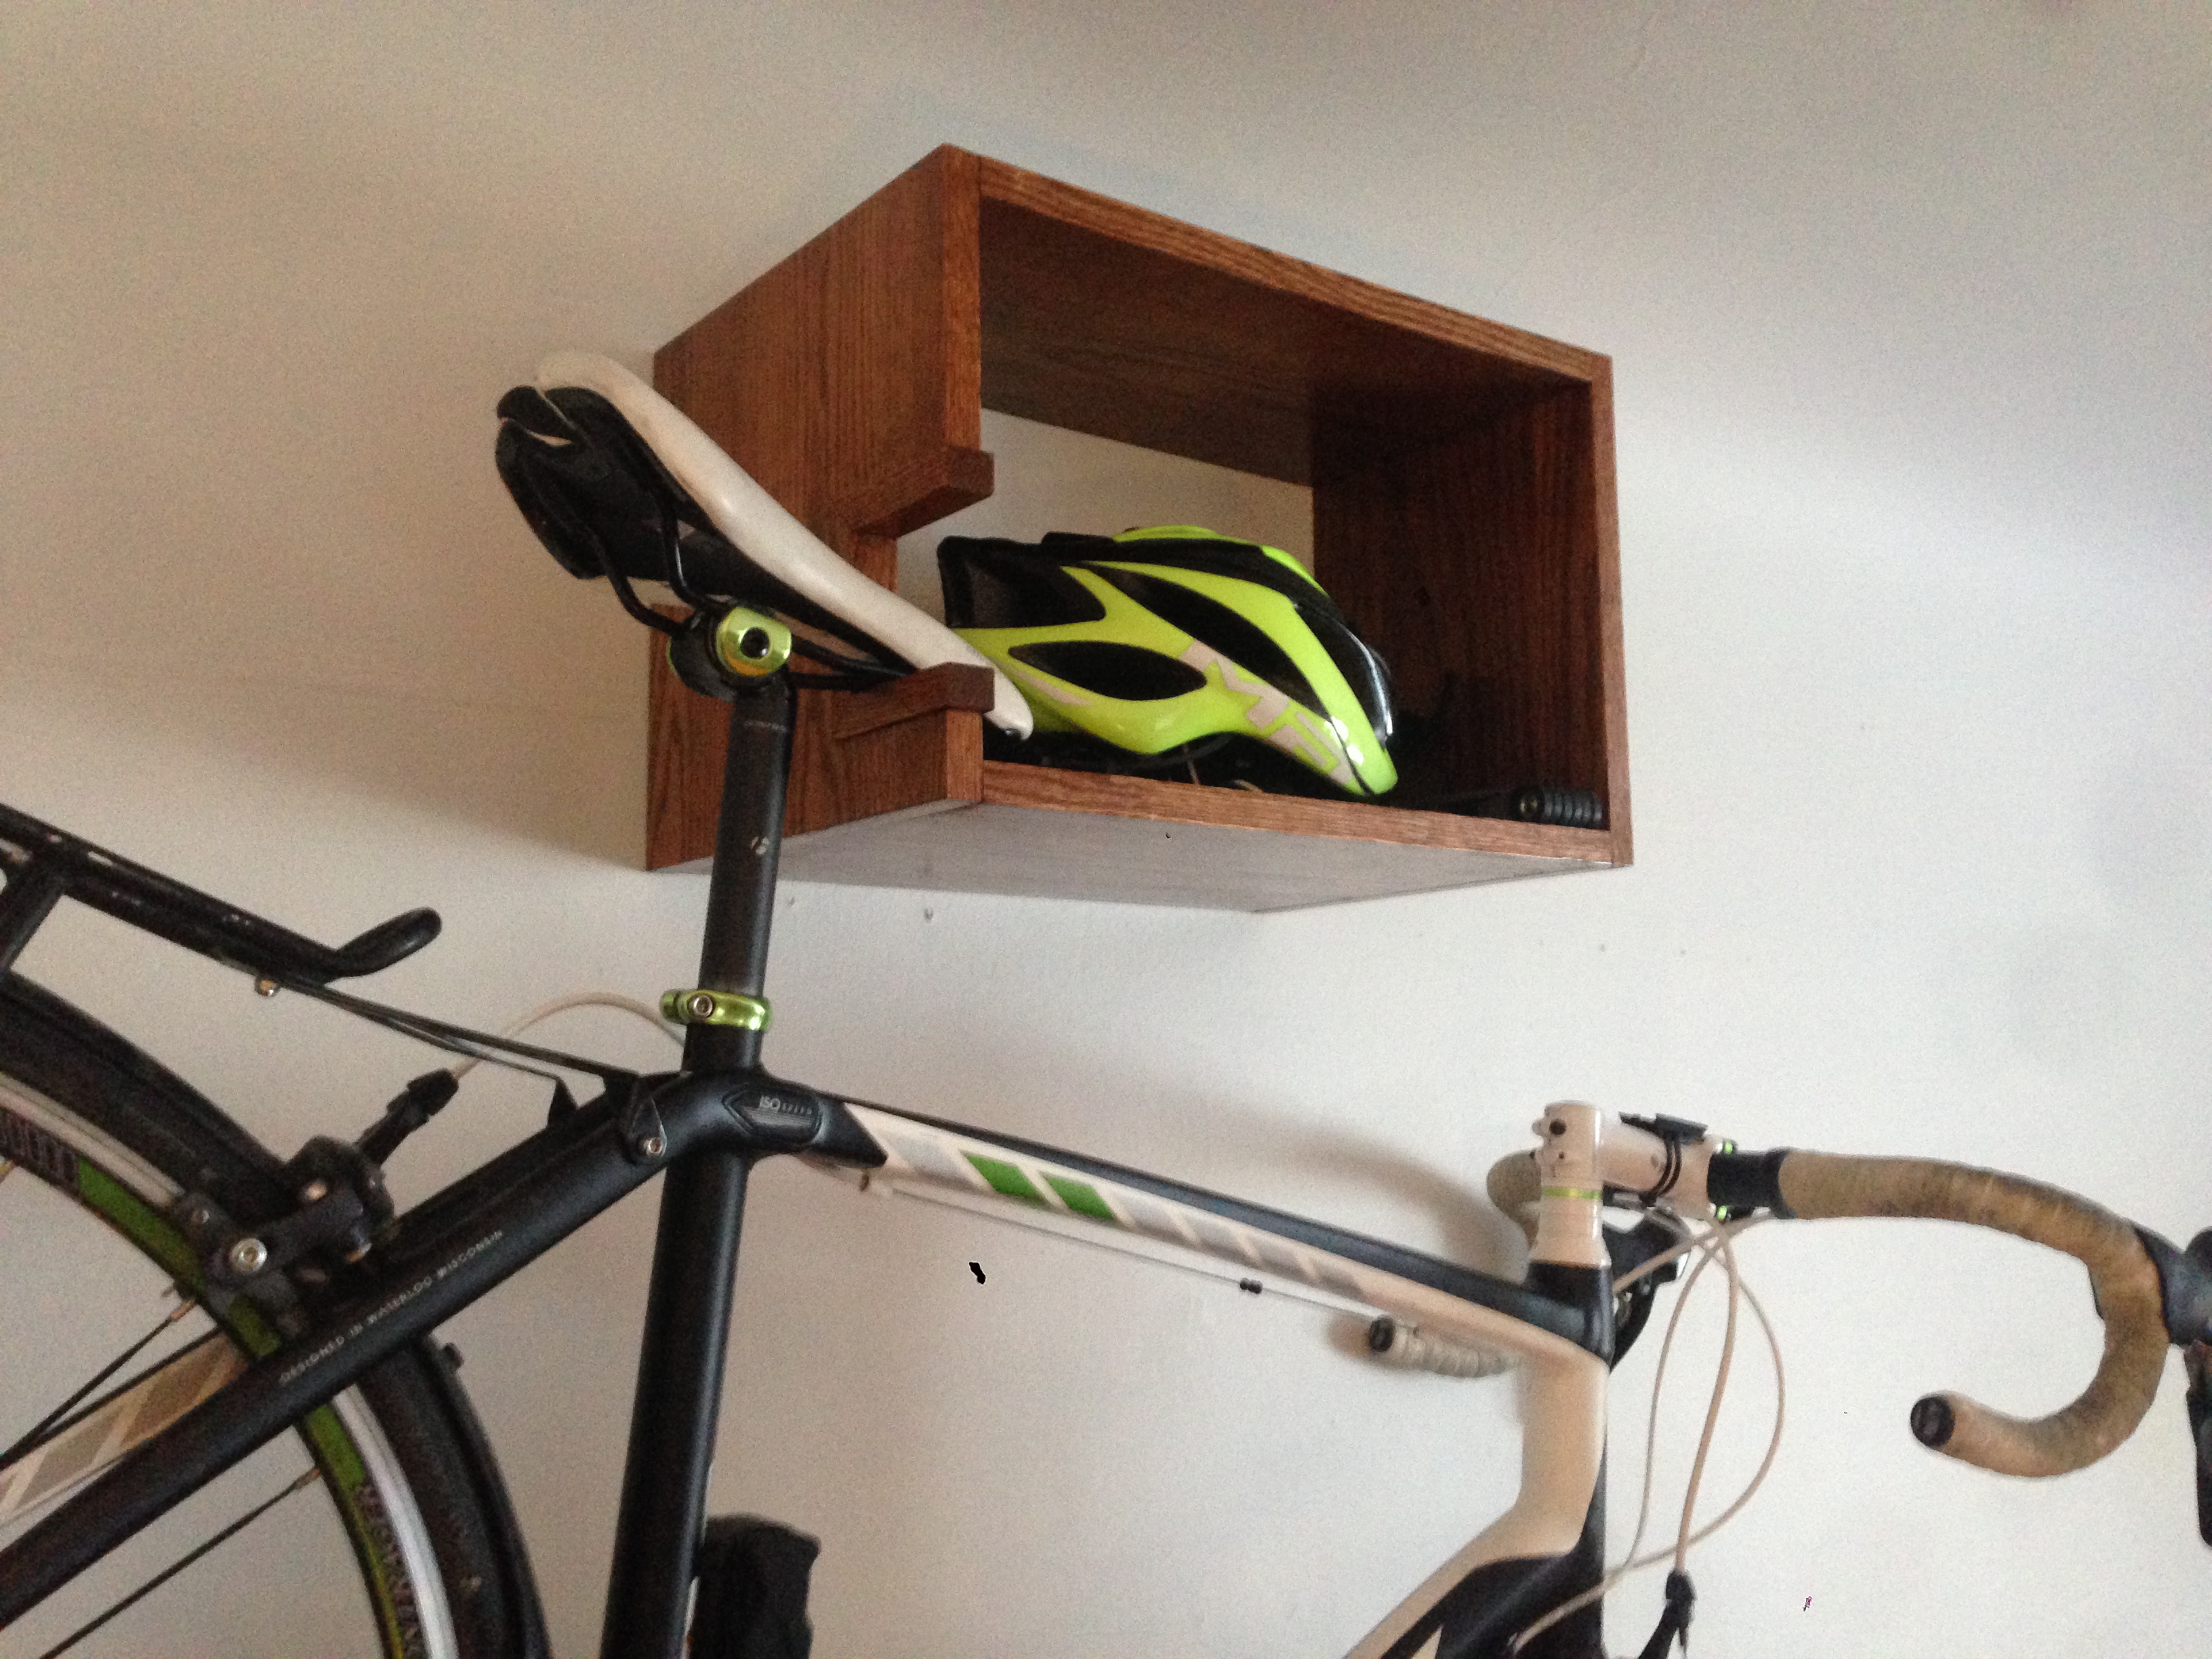
In keeping with the space-saving intent of the project, there is a shelf for helmets, etc. in the otherwise unused space above the front wheels, which makes hopping on a bike to get to work or ride some trails all the more convenient and pleasant.