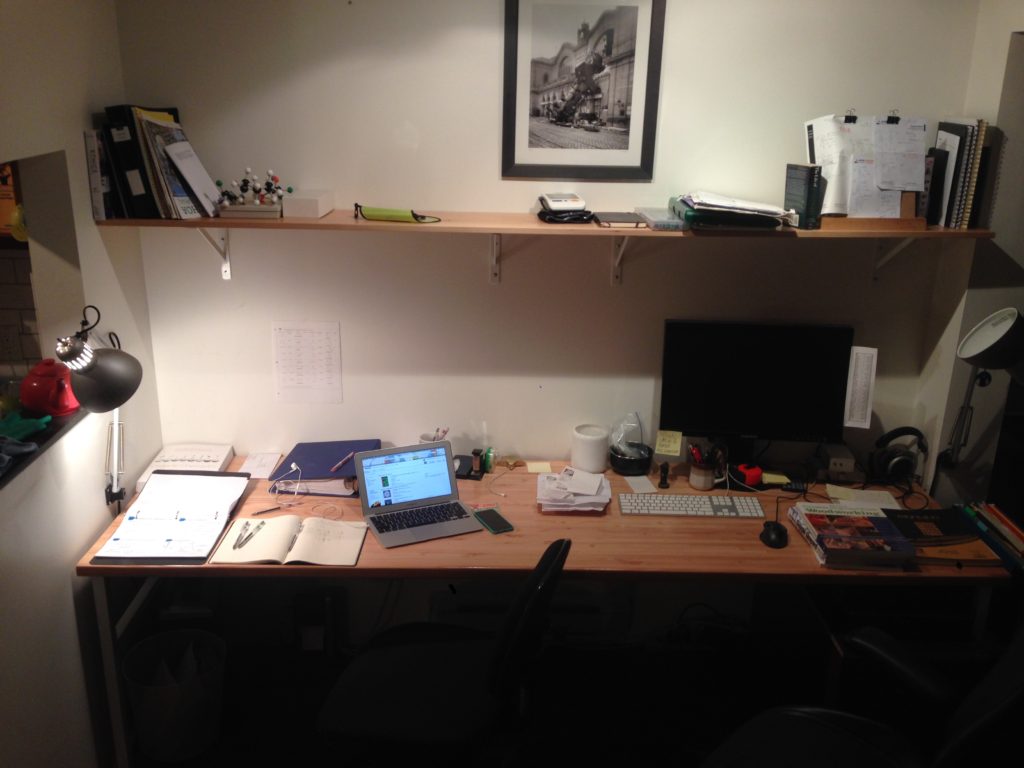
desk
For a long time I’ve wanted a really nice, really large desk. I’ve long been using a saggy hollow core mdf skinned IKEA desk, so an upgrade was long overdue.
In my mind, the key qualities of a desk are:
- it must be huge. In this case, 8′ long, as big as I can fit in my apartment, to use all of the available space to the fullest. Even in pieces, I was barely able to get up the stairs
- it must be solid enough to stand on, with no deflection in the middle, and no long term sagging
- it has to have ample clearance underneath for my knees, filing cabinet, and paper shredder
- it has to look good, and if possible promote clear thought and focus.
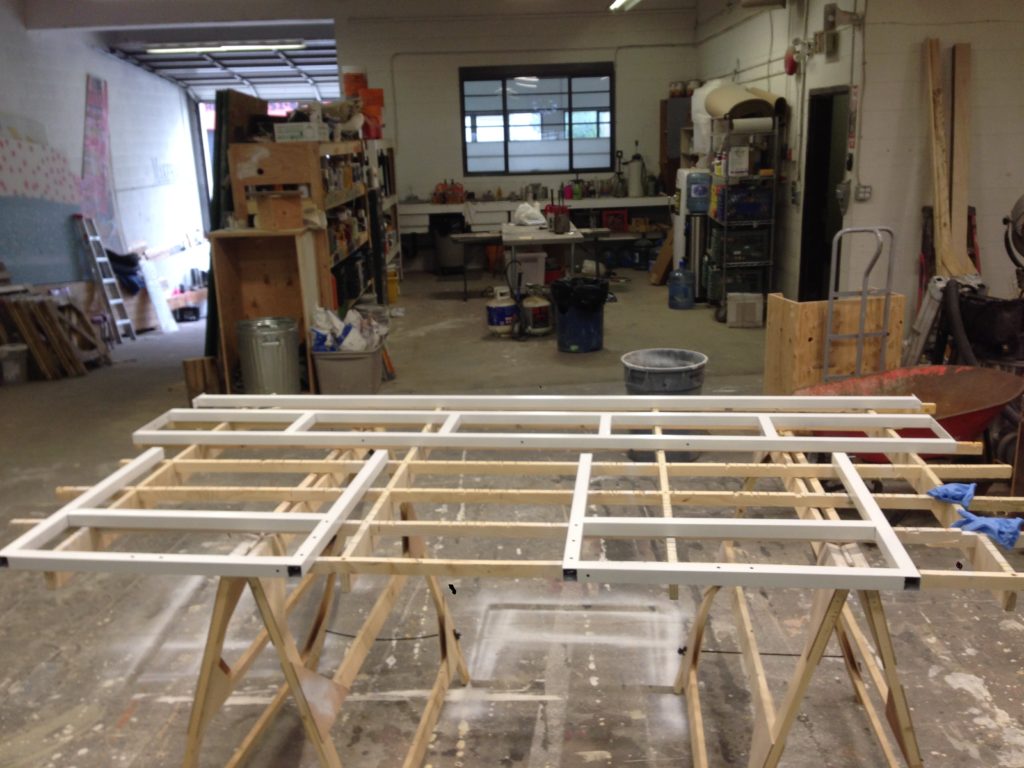
I had a large quantity of solid Douglas fir tongue and groove flooring, left over from when I helped to build Zee’s Tiny Community Center, so I began with the labor intensive process of resawing it all and hand selecting the 150 pieces needed to make up an 8′ x 29″ table top.
Glueup involved frantically stapling rows of wood strips to the adjacent rows, with the challenge of getting it all together and under firm clamping pressure before the glue dried too much. The first and last row were carefully selected to present attractive grain. The underside of the desk is pretty rough, with lots of knot holes and tearing, but that’s OK since the only time I’ll see it is if i need to plug something into my computer.
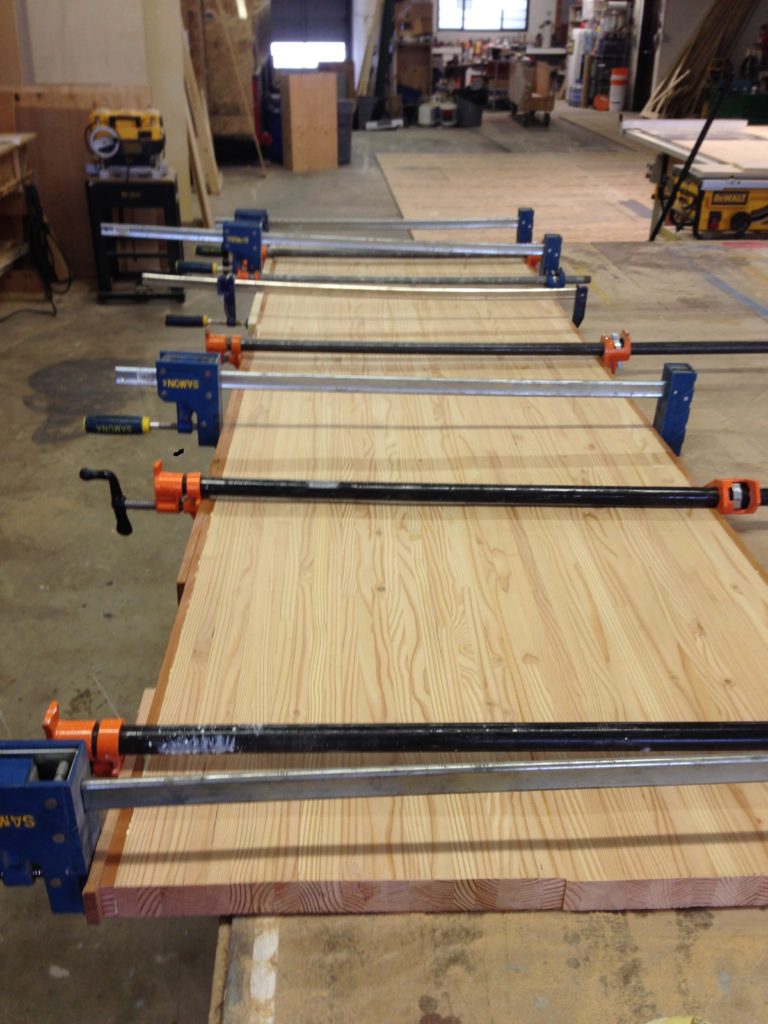
desktop glueup
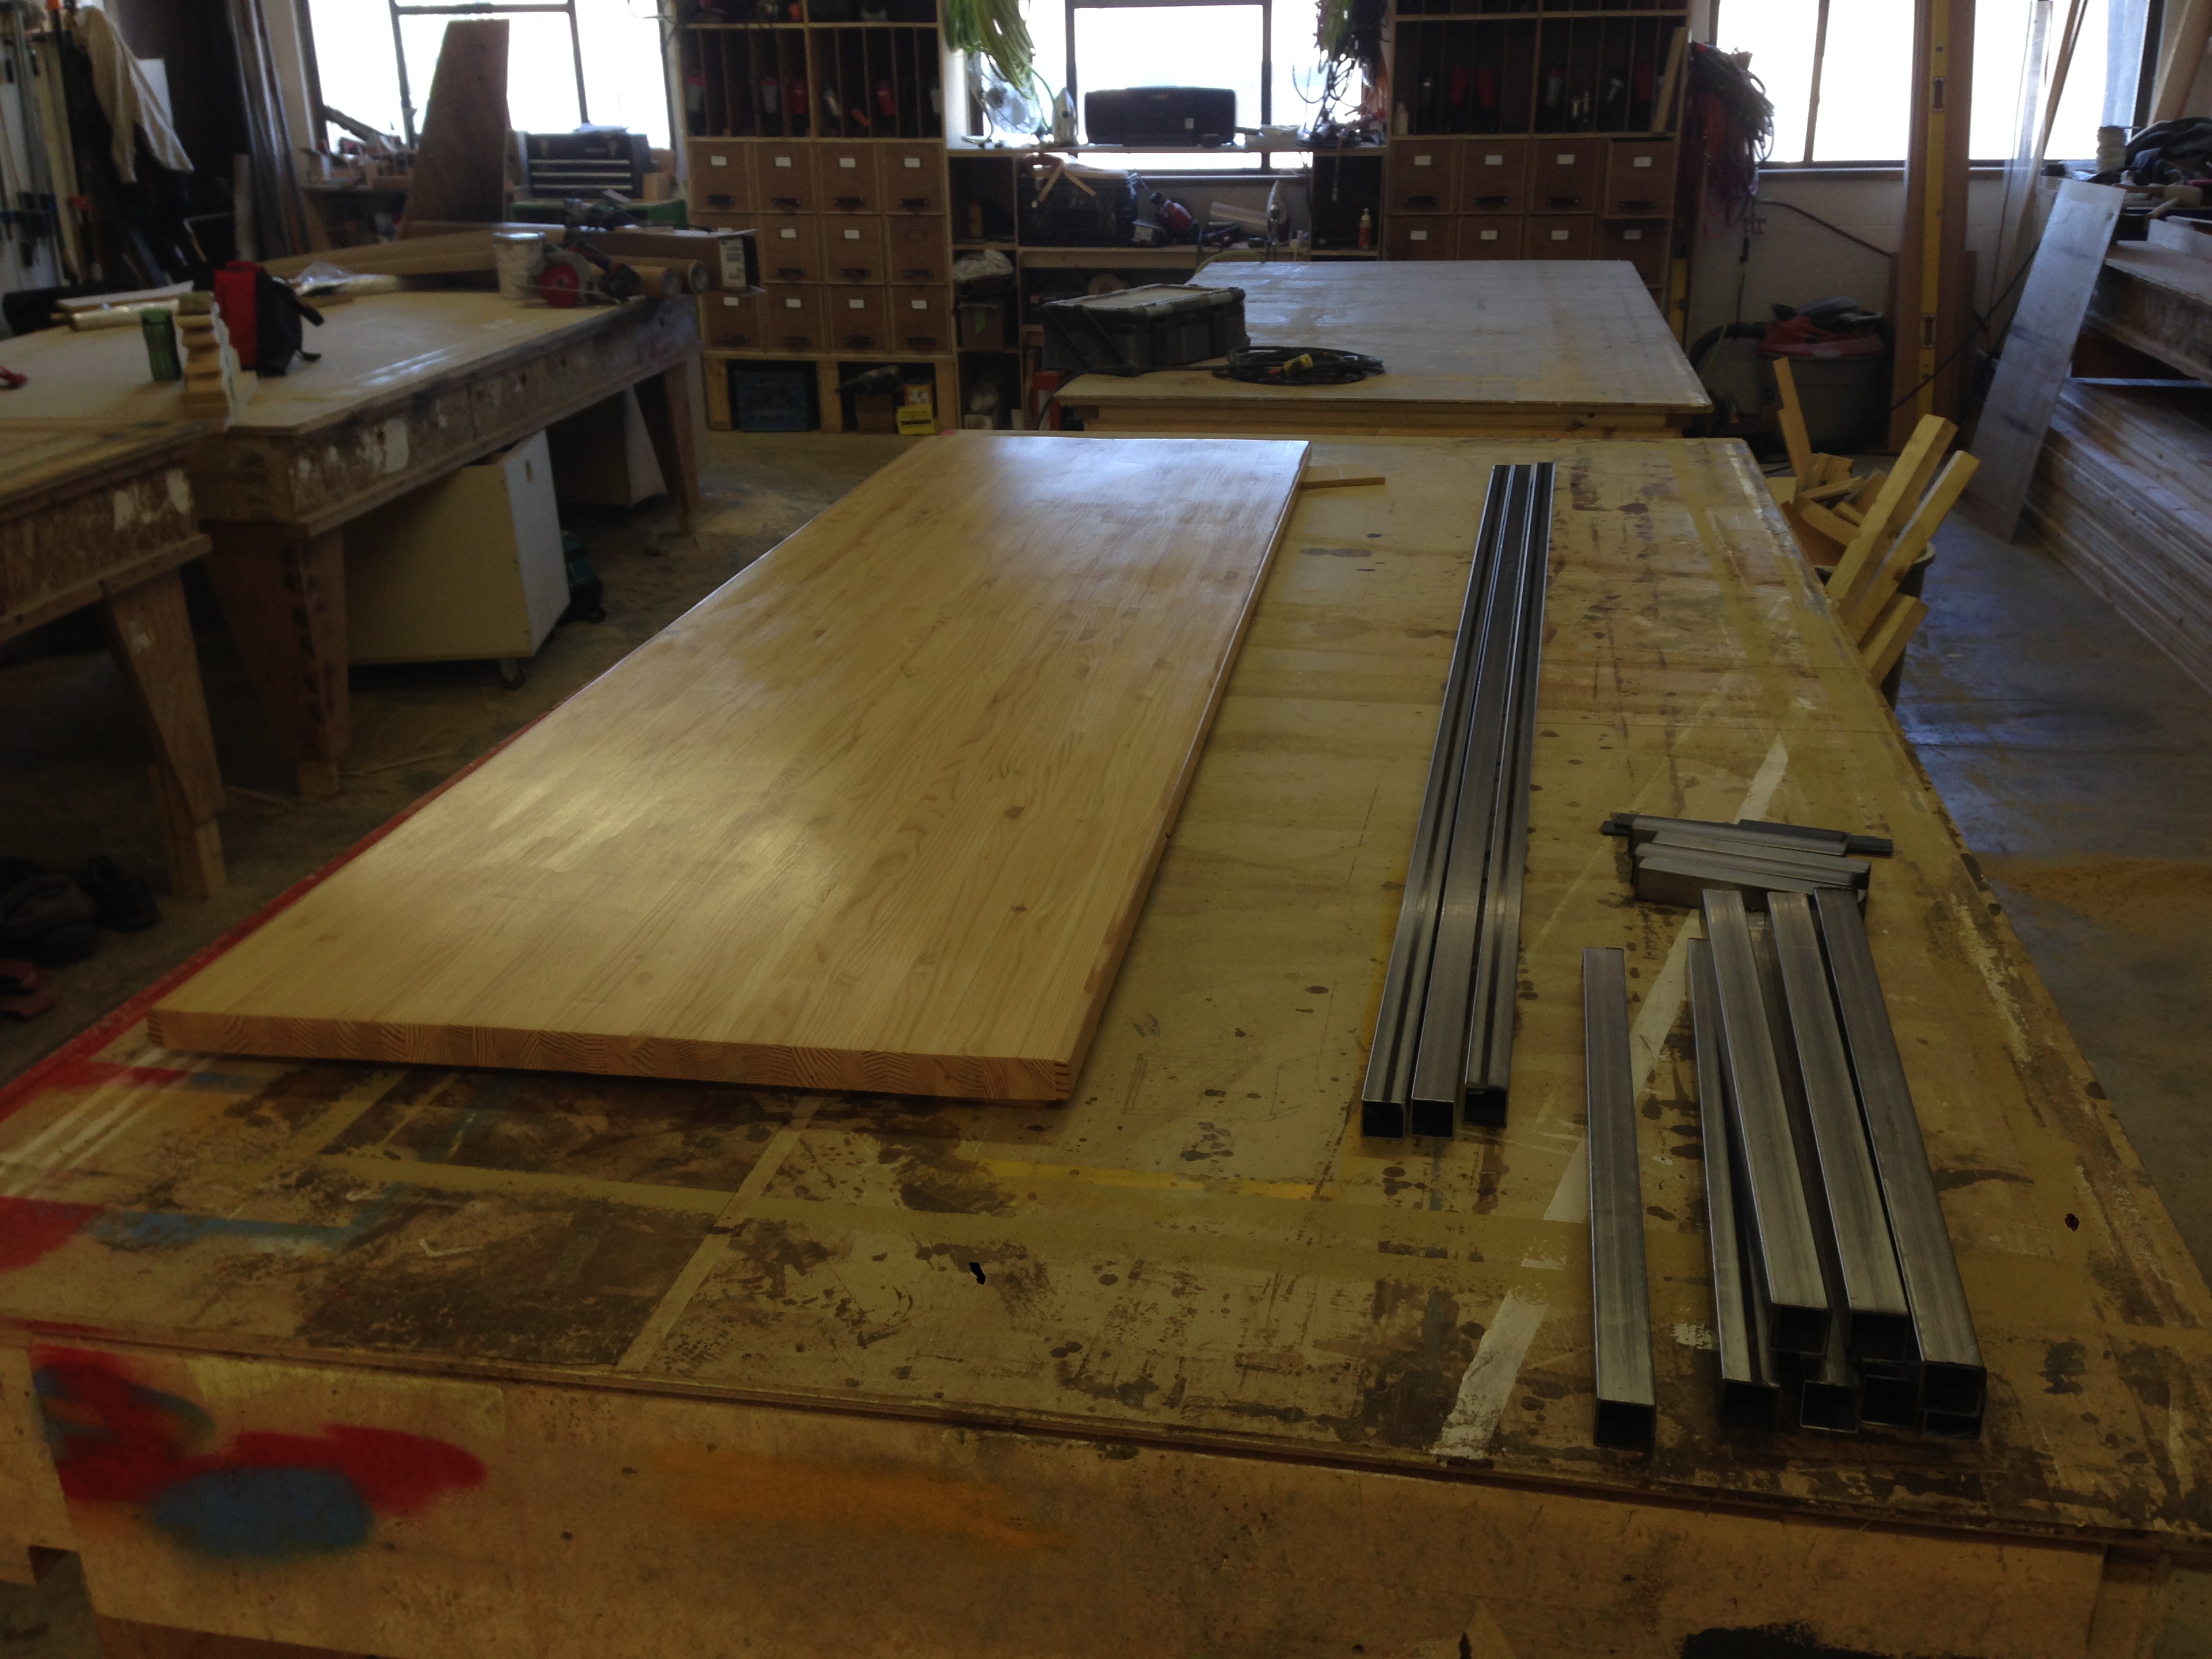
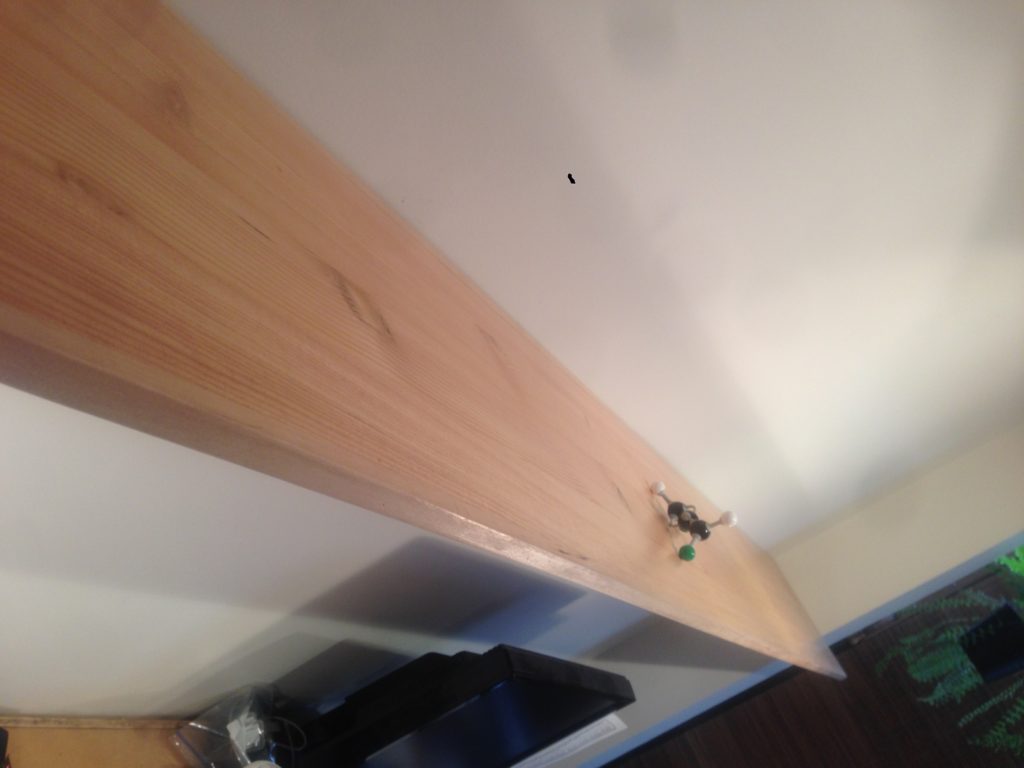
After glueup, the top was sanded smooth and flat(ish) with a handheld belt sander, since the shop I work at doesn’t have a 30″ planer. Too bad! Sanding took many hours. It was then trimmed to size and the leading and trailing edges were rounded over with a router to be gentle on the wrists and ankles (I like to slouch with my feet up when I’m thinking.)
The finish is 3 coats of water based polyurethane.
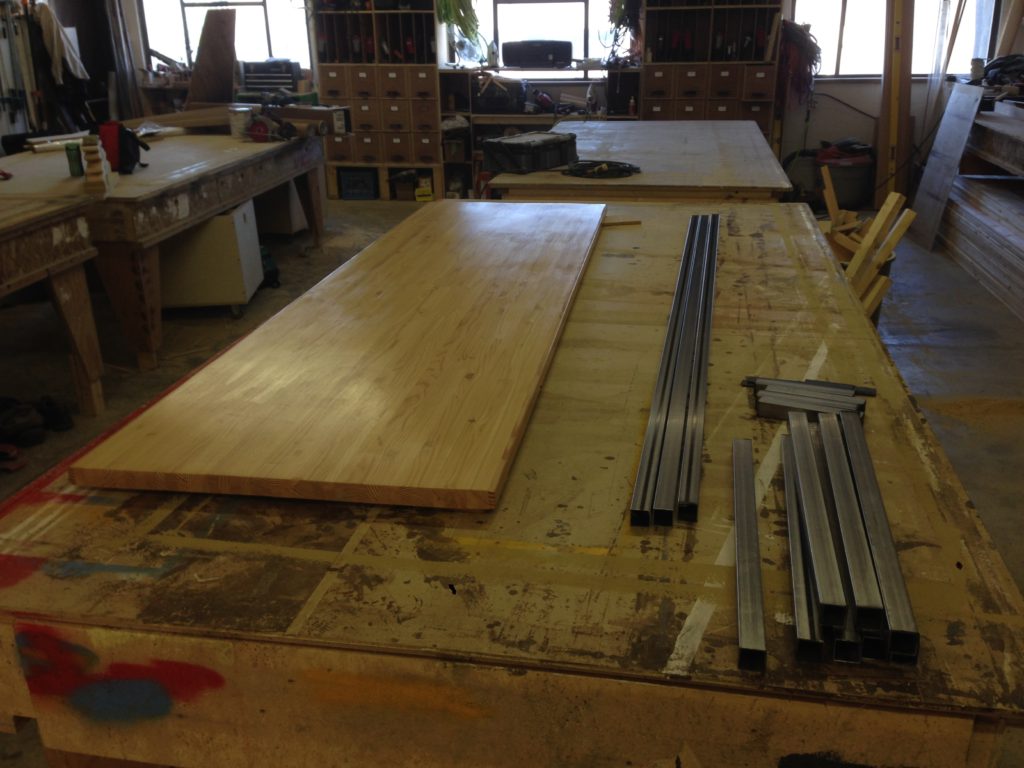
finished desk top and frame pieces cut
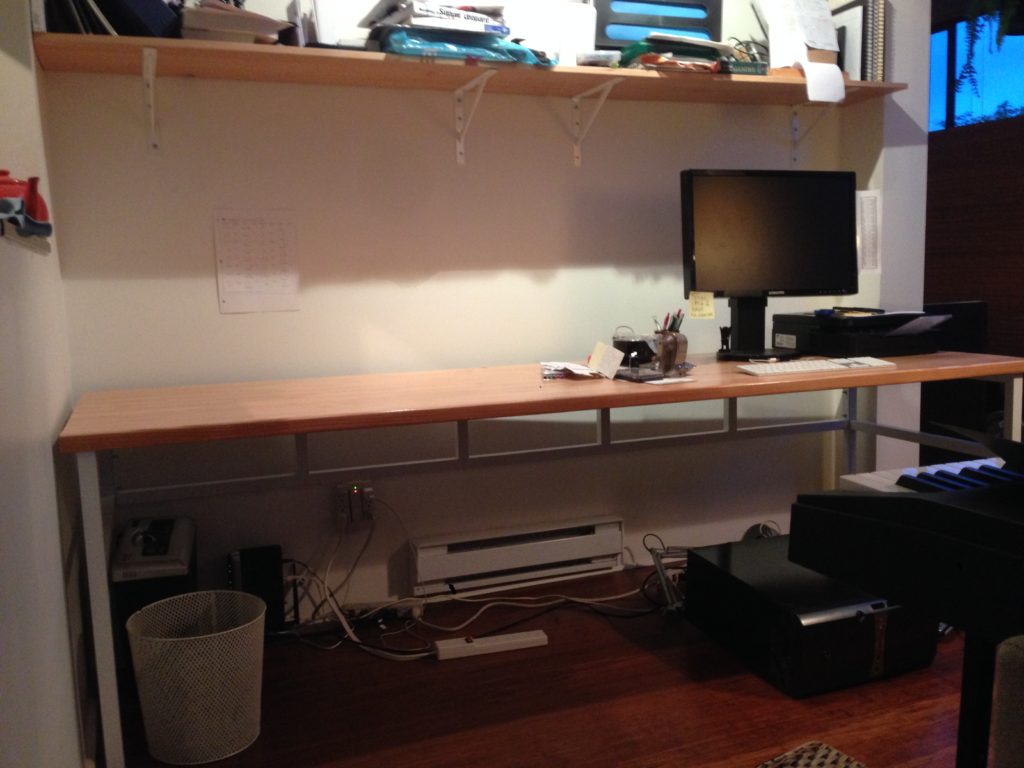
With the top complete, it was time to fabricate a frame. I welded up some 1 1/4″ square mild steel tubing, planning for tabs to through bolt to hold it all together. The frame is made of 2 side frames, a back truss to prevent racking and flexing, and an additional mid crossbar, which was overkill, to ensure things are super stiff. After welding, grinding all the welds flat, clamping it all together and pre-drilling for hardware, the frame was primed and painted in a flat white from a couple of spray cans, which turned out much nicer than I had hoped.
desk frame painted
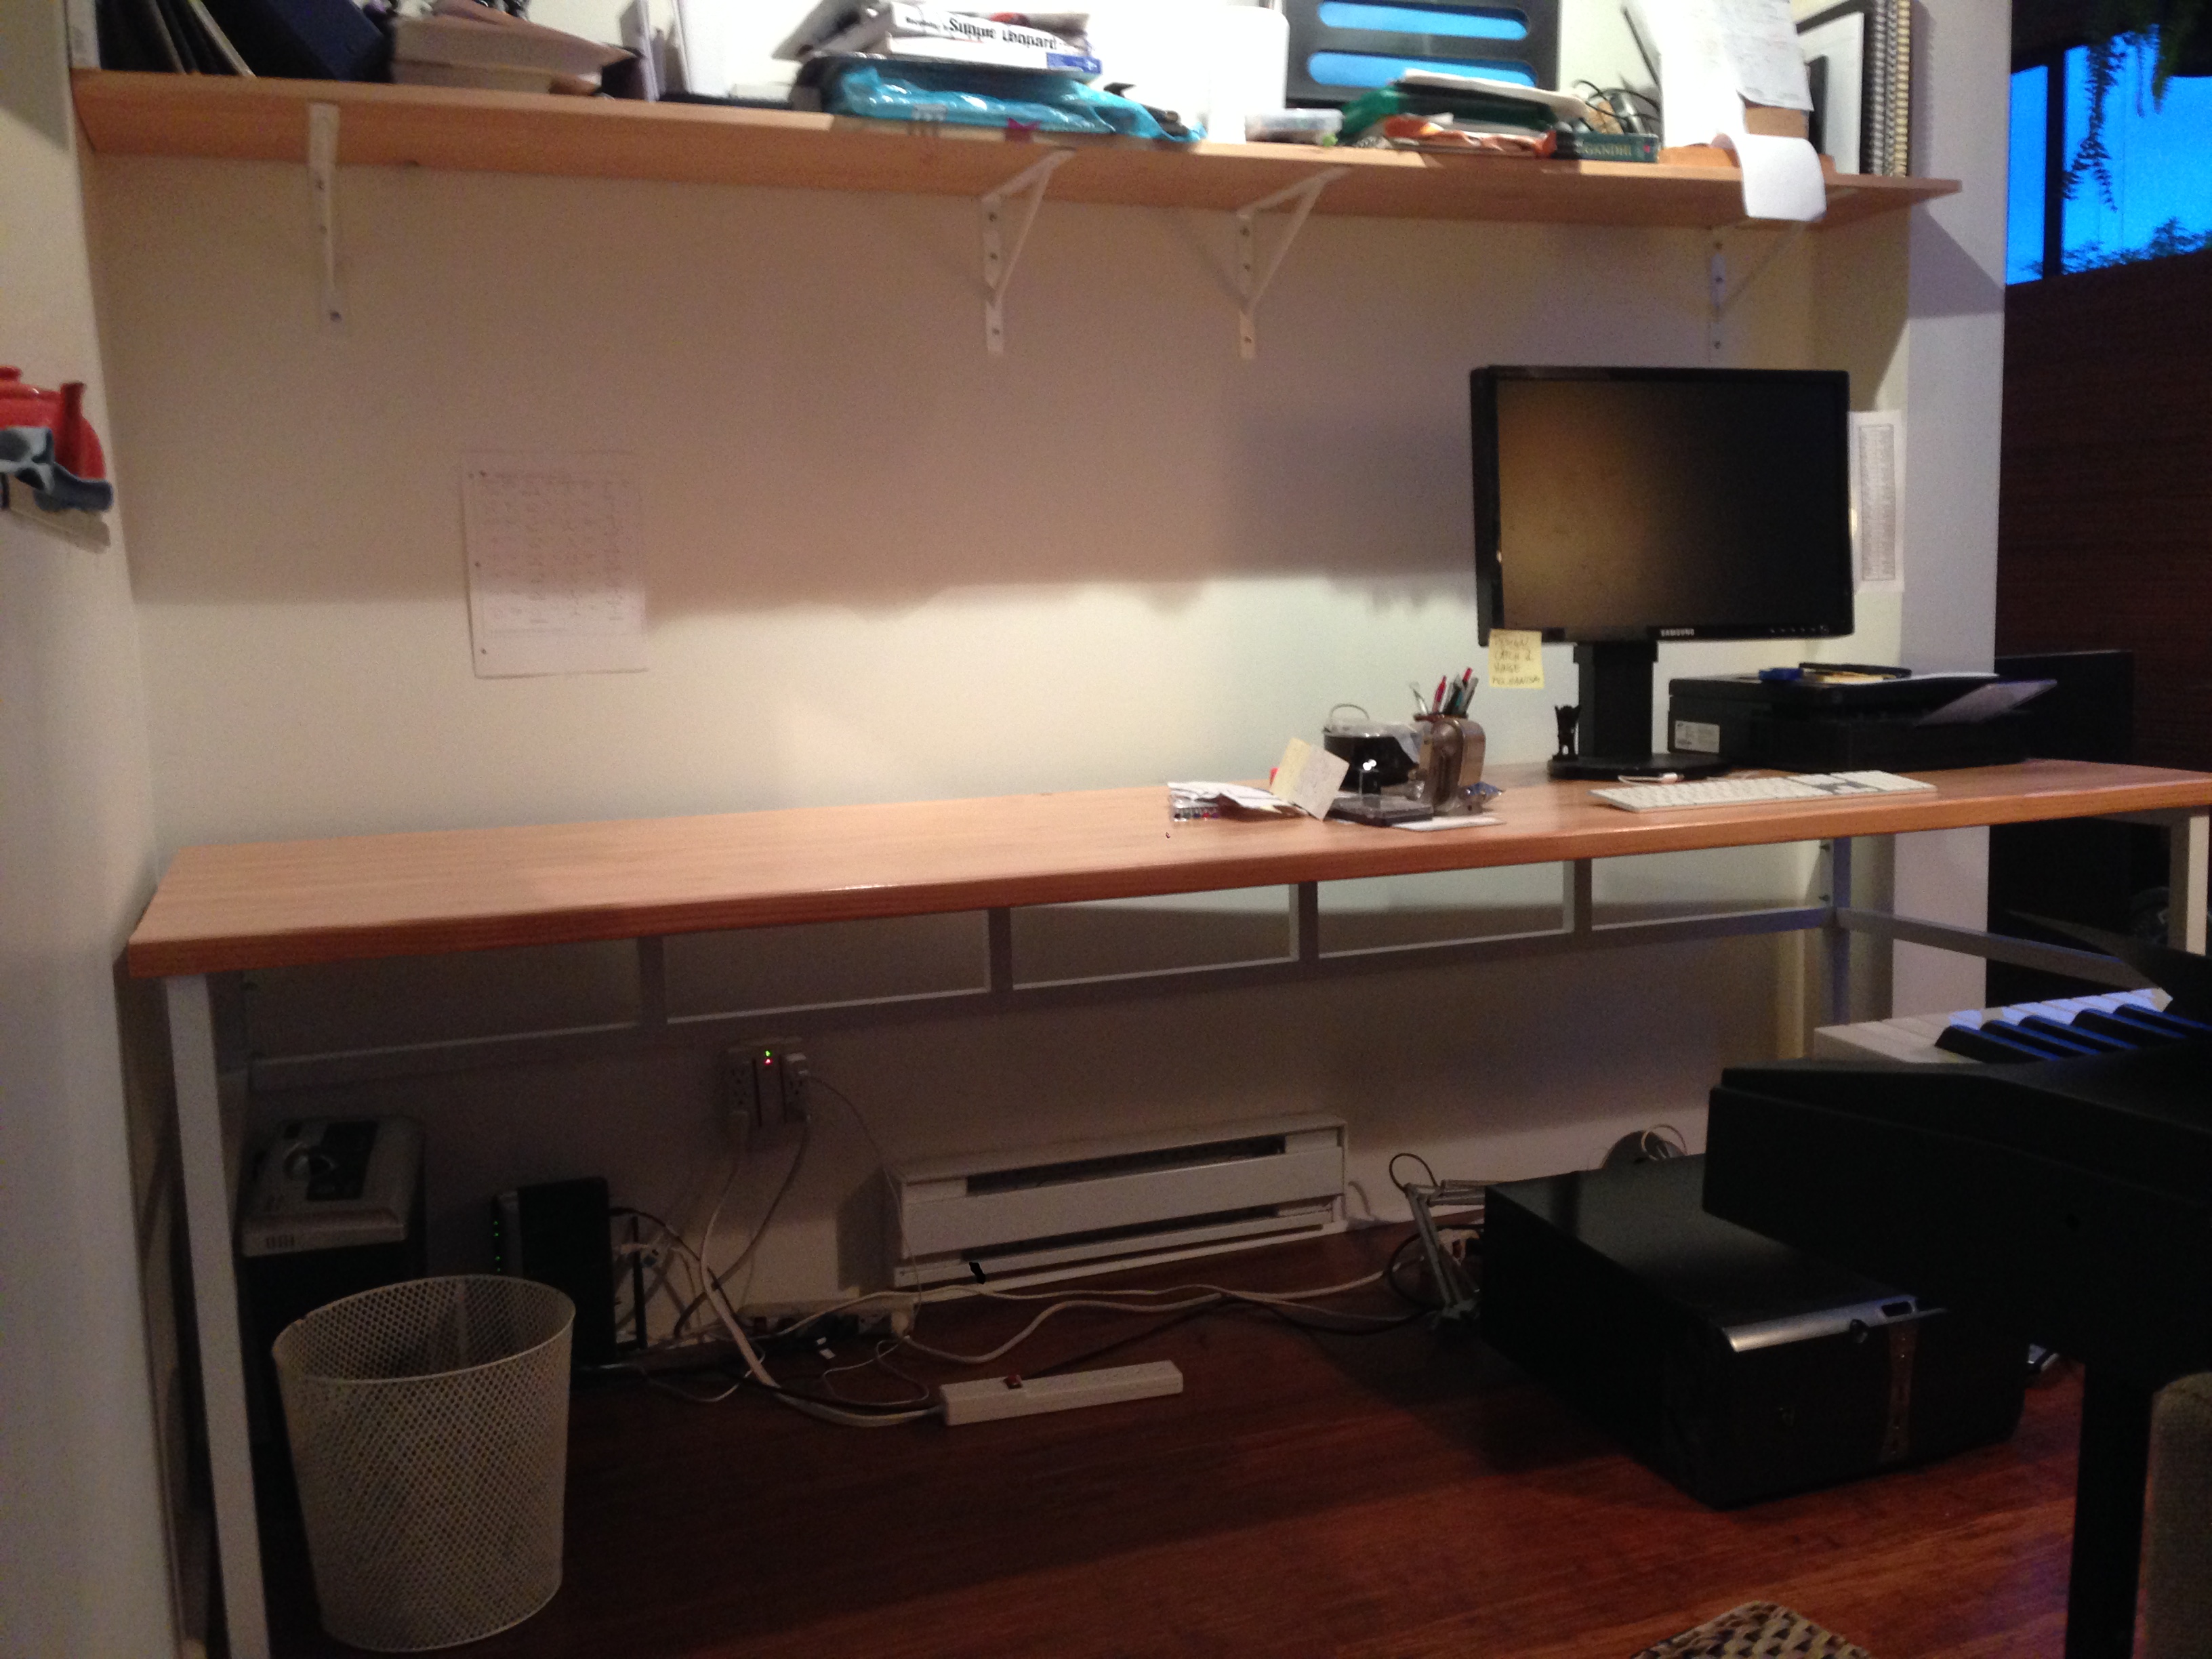
I also made a matching shelf, again from the reclaimed fir flooring, which was screwed to the wall using some simple and sturdy powder-coated brackets purchased from the hardware store.
desk shelf
The sanded fir top has a lovely lightly textured surface, since the early wood and late wood are of different hardness and porosities, and the subtle ripple contributes to the tactile experience of working at the desk. It is fastened with screws only through the top of the rear cross brace, in order to allow the wood to expand and contract as it pleases with changes in temperature and humidity.
desk