Spice Drawers

spice drawers

spice drawers

A spice rack is a bit of a clicheéd woodworking project, but it was a fun, quick, Christmas present, to help make the most out of our small kitchen and bring some much needed organization to our spices.

jars o' spice

jars o’ spice

The fronts and backs are made from baltic birch plywood, the runners are made from solid maple, and the sides, bottoms, and dividers are made from a strange red softwood plywood that gives an attractively spicy two-tone look to the project.

bags o' spice

bags o’ spice

Finished with 2 coats of water-based polyurethane, this project produced epic amounts of storage and has made cooking more user friendly and enjoyable.

Bicycle Shelf

bike shelf

bike shelf

A simple, compact and stylish way to support a bicycle in a small space with room for accessories in a finish that harmonizes with the existing millwork and furnishings.

bike shelf under construction

bike shelf under construction

Made from oak veneered ply, joined with biscuits and micropinned while the glue set, the back is solid plywood to facilitate secure mounting to the wall. A painted cover panel fits in place to hide the fasteners and match the surrounding wall in order to give a floating effect.

bike shelf ready to install

bike shelf ready to install

A chestnut stain and 3 coats of oil based polyurethane give it a classic look.

installed bike shelf wide view

installed bike shelf wide view

Open Wardrobe Shelf

Another practical, solid, minimal project for making the most of living in small Vancouver apartments. There’s room for numerous shirts and jackets, and a shelf for shoes and infrequently used items.

open wardrobe shelf installed

open wardrobe shelf installed

The shelf was made of pine plywood, glued and screwed together, with the edges sanded and filled for a smooth finish.

open wardrobe shelf under construction

open wardrobe shelf under construction

The body of the piece was painted with a high-gloss water based enamel, and the dowel was finished with a water based polyurethane to add a contrasting warmth and allow it to stand up to scratching from the metal hooks of hangers without looking worn out.

open wardrobe shelf ready to install

open wardrobe shelf ready to install

I installed the shelf with countersunk screws, and filled and painted over the screw heads for a seamless finish. Notice how the piece was designed to interact well with the IKEA dresser below, in size and finish. The dowel extends through the end gable, and has a subtle indentation to allow a bag to be hung without slipping off.

open wardrobe shelf

open wardrobe shelf

Lift Up Storage Bed

Once again, I’ve been called upon to help maximizing space in a small dwelling. The space under a bed is an obvious candidate for storage, but a conventional steel bed frame and box spring consume all that, and even better designed beds that replace the pointless box-spring with supporting slats can make it hard to access the space beneath.

Because the client wanted to store 6 pairs of skis specifically, the obvious strategy was to build a lift-up storage bed. There are commercially available units with a similar method of operation, but they have extra material, a larger footprint, and a higher sticker price than the ‘you cover the costs and I’ll build my portfolio’ rate that I charge my friends.

The finished bed is made of spruce dimensional lumber, with stained and varnished laminated pine panels for sides. Definitely budget materials, but with enough sanding, patience, and coats, the resulting finish is richly coloured and smooth. The final exterior design element of note is a toe-kick recess along the floor on three sides to prevent stubbed toes and give the bed a floating appearance, which helps to lighten the look of the wide panels.

finished storage bed

The mechanism uses off-the-shelf automotive trunk struts, and casters and bar stock  from the hardware store. Large diameter bolts keep the pivots square to the frame, even with big stacks of washers used for horizontal spacing and alignment of the strut and linkage. Nylok nuts ensure it won’t loosen with use.The upper platform is reinforced with flatbar since it is subjected to constant tension from the struts when the bed is in the down position. The linkage moves the platform forward as it is lifted so the top edge of the mattress doesn’t hit the wall behind the bed.

lift mechanism

I designed the linkage geometry so that the strut force lifts the frame progressively. In the lowered position, the strut is held compressed but mostly places the platform frame in tension, with little force acting downward. In the upper position, the arm swings out and the strut acts quite directly to hold the platform up. In this way the bed stays down on its own, but also easily supports a mattress and bedding in the up position. When the bed is lifted it initially bears down on a caster (obscured in the picture above) and rolls along the top of the rail, until it lifts up enough to cantilever off of another caster rolling along the bottom, which is what prevents it from tilting forward.  Operating the bed is quite ergonomic since the strap handles used to lift it are at the foot of the platform and the casters and linkage which bear the weight are near the head of the bed.

lifty-lifty: look Ma, no hands!

The weight of the platform, mattress, and slumbering bed-users is borne to the floor by 8 solid wood posts on the periphery, leaving the entire middle section unobstructed for storage, and the wide side panels prevent any racking of the frame, resulting in a very stable bed.

The footprint of the bed is only a few centimeters wider on all sides than the mattress itself. This was a critical design parameter as the bedroom door swings within a scant few millimeters of the frame.

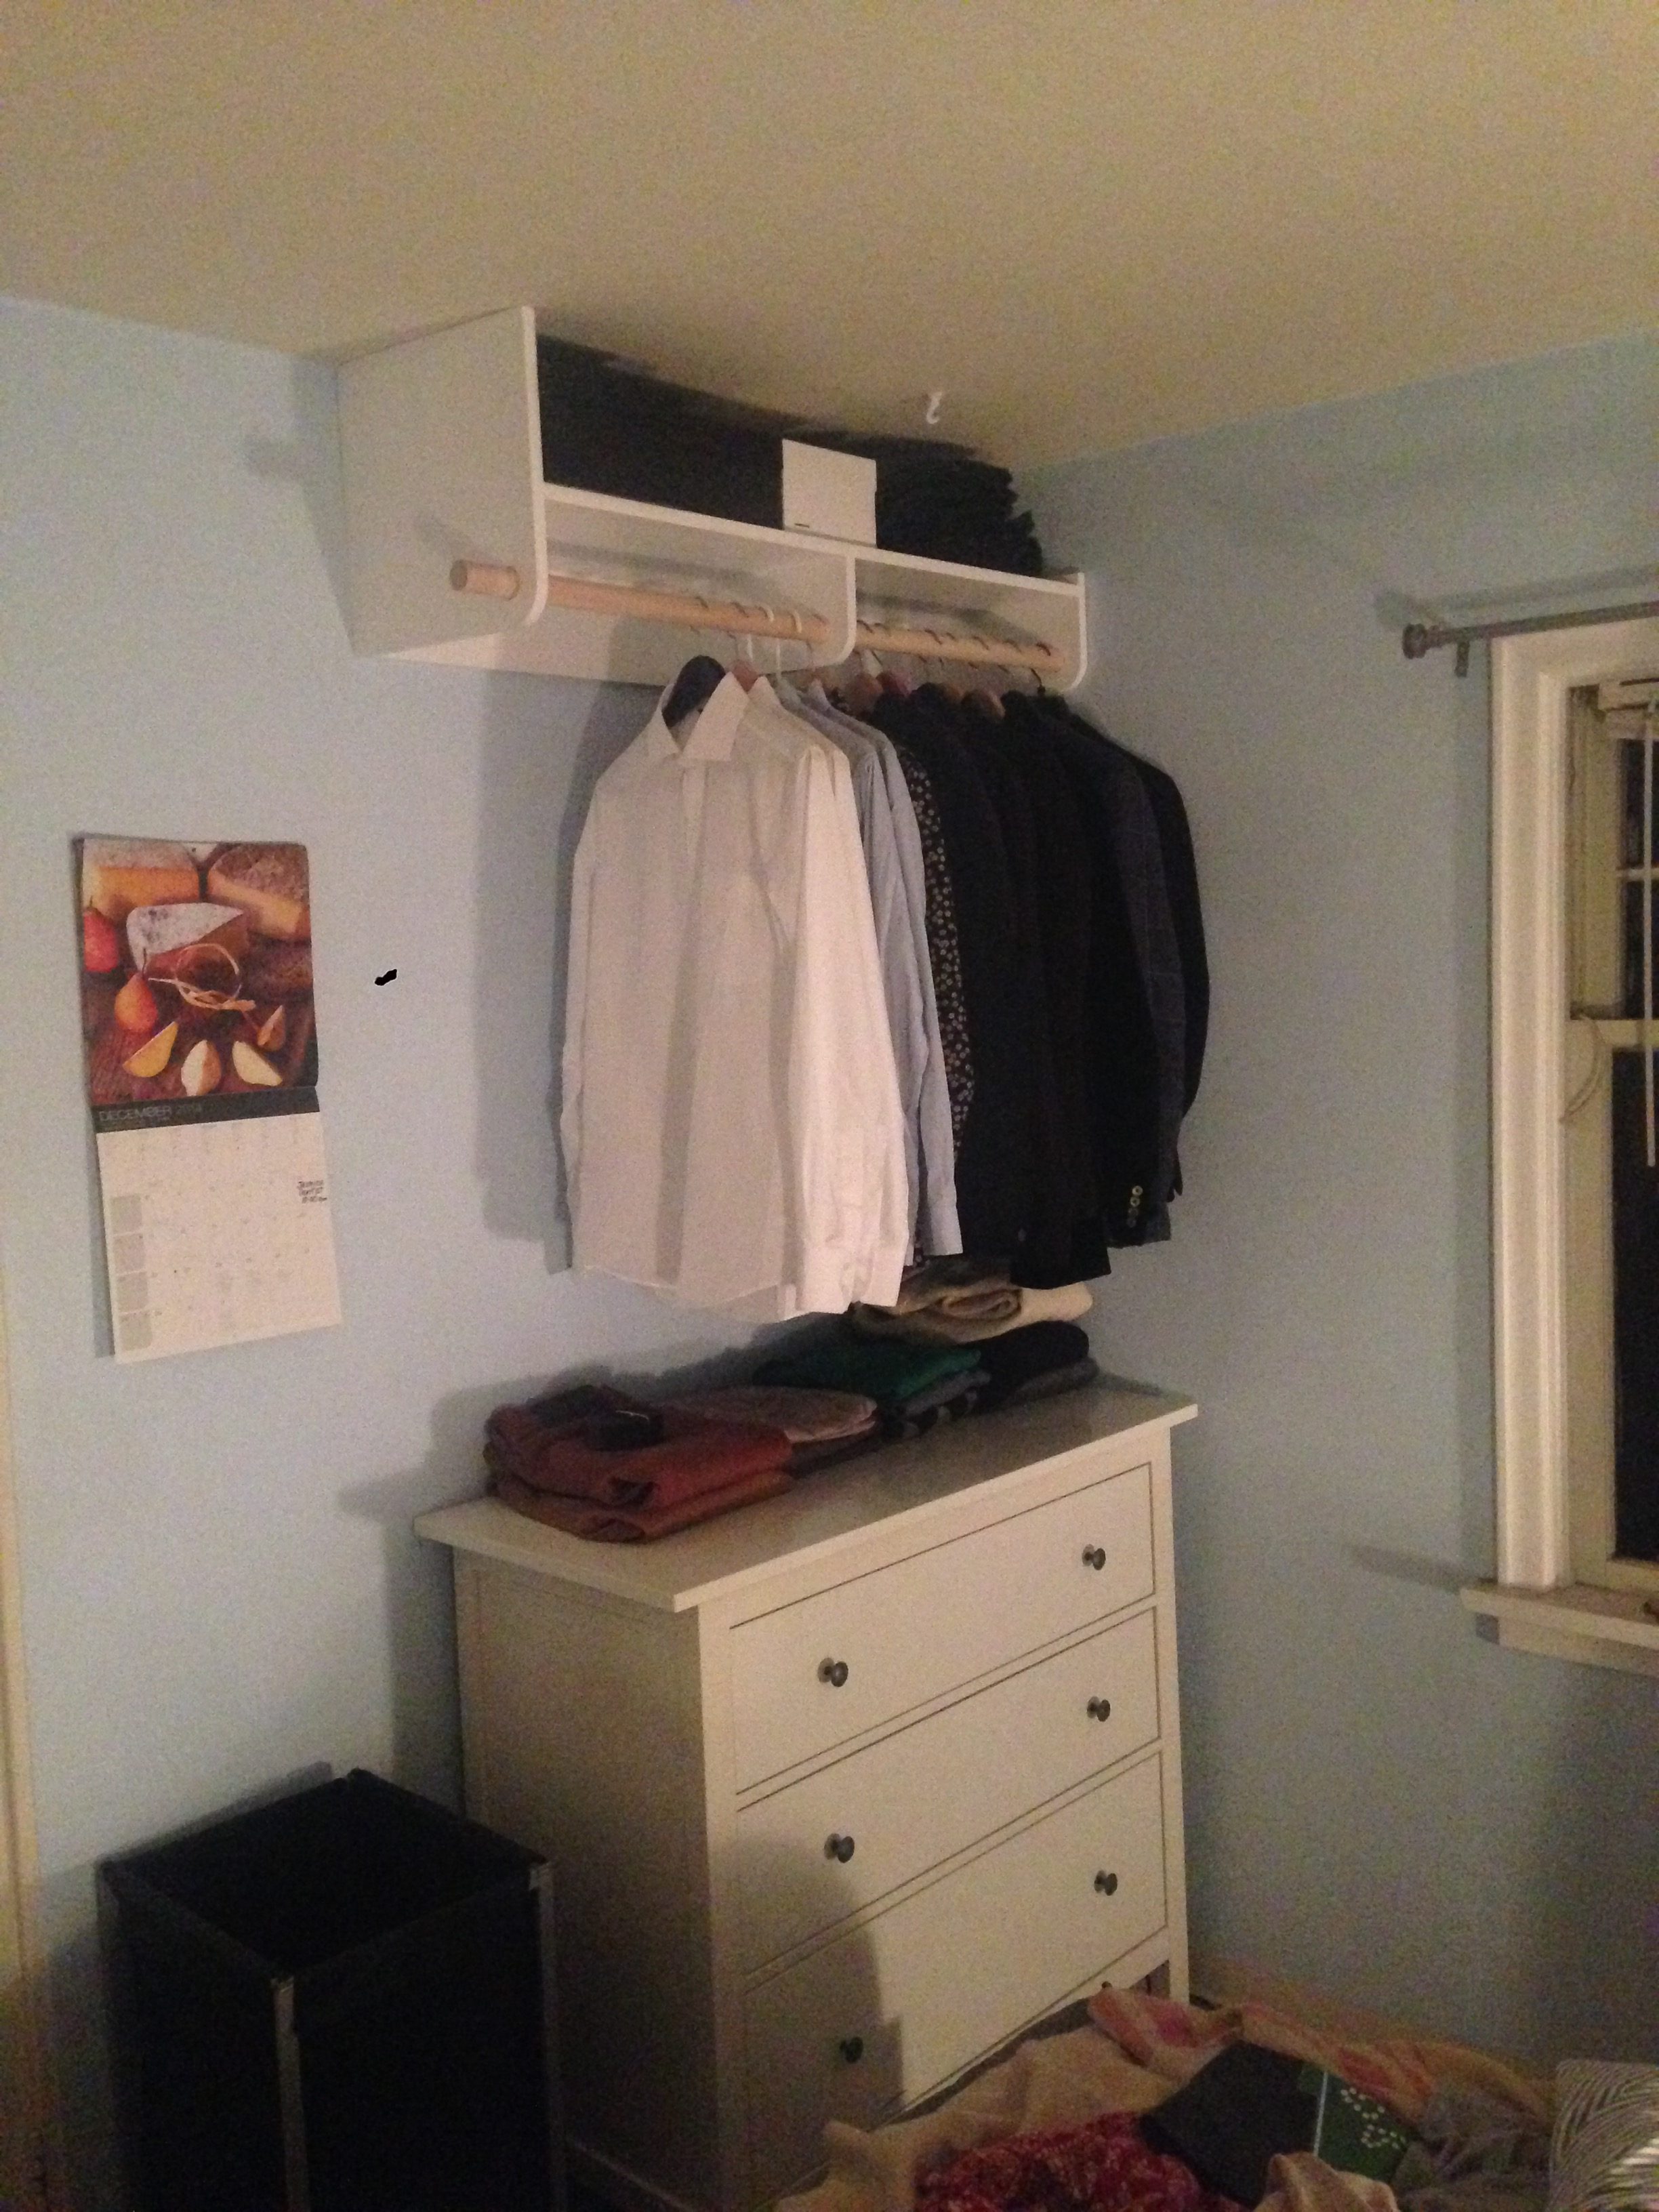
rescued space put to work, with all that stuff hidden nicely from view

The end result fits the room, looks clean, stores a ridiculous amount of gear, and is easy operate.  I look forward to tackling similar projects when the budget allows for some custom machined metal parts to keep tolerances tighter and simplify final assembly. In the meantime, making due with the tools and parts at hand is a fun part of the challenge.

Softwood Bike Rack

This was a fun project for a few reasons: it’s nice to make something really practical that works well on the first iteration, it’s a pleasant change to not have to worry too much about finishing, and it’s gratifying to complete a project in a single afternoon.

bike rack: easy storage for 3 bikes of almost any size and shape.

The project parameters are straightforward, but there are quite a few considerations. At the most basic, it’s a low-cost rack to store 3 bikes in as compact a space as practical. The space the rack lives in doesn’t have a wall or ceiling to hang from, and bolting to the floor is a non starter. It has to be general purpose enough to handle any kind of bike.

I started by measuring the space and some pertinent dimensions of the bikes in question.  Then I did a quick image search of different approaches others have taken.

There were three options that dominated. The approach that seems to garner a lot of drooling from those that follow the design blogs involves  hanging the bikes by  the wheels or top tube on hooks, but that requires a wall to bolt onto, a bike with a particular type of frame, and of course the need to lift and wrestle the bike into place. With a step-through framed, balloon-tired E-bike among those I need to support, this option is quickly eliminated. Roll-in, roll-out is clearly the way to go.

The second approach uses a slot that the wheel sinks down into. Some quick mock ups with scrap 2×4’s showed that this could work well if the slot was either very deep, or very tightly fitted to the wheel. This requires lots of material, or rather, material of a different sort than what I had on hand, and isn’t as supportive as I wanted anyways. To be flexible and work with both 3” knobby mountain bike tires and 23mm road tires requires some sort of adjustment of the slot width as well, and that’s added complexity I’d rather avoid.

The third option is what I’ve gone with: a vertical slot for the front edge of the wheel. This works equally well with multiple sizes of wheels and tires, and provides very secure support since the point of contact of the wheel with the rack is well off the ground, giving lots of leverage. You can envision that the bike can only lean a couple of degrees before the wheel leans against the support, even if wheel widths vary dramatically.

The rack is made from reclaimed softwood, rescued from the garbage after a previous application as some wobbly storage shelves.  There are some screw holes and rabbets in the reclaimed wood which I incorporated into the rack as was reasonable and ignored when it didn’t influence the structural integrity. The lumber was left unfinished since it’s a utilitarian piece done on the cheap and stored inside, but obviously a coat of paint or stain could clean things up a bit and enhance durability.

In keeping with the space-saving intent of the project, there is a shelf for helmets, etc. in the otherwise unused space above the front wheels, which makes hopping on a bike to get to work or ride some trails all the more convenient and pleasant.

Renovation Highlights

I spent many months living in the chaos and filth of an ongoing renovation, done part time from fall 2011 to spring 2012 while I did CAD and electronics assembly work.  It’s all done now, and my partner and I have enjoyed our shiny, new, and more usable surroundings immensely.

The work involved a complete redo of the kitchen, 450 square feet of wide plank engineered bamboo flooring, including the staircase, a new fireplace surround, and lots of painting, moldings, and finishing touches. Here are some of the highlights.

Custom floating kitchen shelves

kitchen sketch: before demolition to be sure we liked the direction we were headed.

Made of 2 layers of 5/8″ baltic birch ply laminated together, these shelves are bombproof. Edges are finished with birch veneer edge tape, and they were sprayed with a combined stain and varnish.

shelves getting sprayed

The shelves are supported by a recessed wood cleat, screwed into the studs, and by screws through the adjacent cabinets. The result is tons of extra storage, a sleek modern look, and easy access to those corners that are horribly unusable with most cabinet systems, especially if you’re limited by your budget to factory built options like the Ikea units I installed here.

corner shelves: copious & accessible storage, with more on the opposite side of the room

Fireplace surround

demolished.

After installing new flooring, the original orange glazed terracotta tile (replete with some chips and cracks) had to go. I got a good deal on the black slate, and used it to finish our solarium windowsill as well. Patching the drywall was a test of patience, and using a cheap, low power wet saw to cut the slate tile required all the finesse I could muster, but the results are clean and sleek and match the rest of the place nicely.

new fireplace surround: moldings and slate flooring

 Shoe storage stairs

The entry way lacks a closet, and two people, especially with my size 13 feet, need somewhere to put their shoes. Why not reclaim some of that wasted space? Pretty straightforward: a plywood box as big as I could make for the bottom couple of stairs.

finished shoe storage stairs

The finish carpentry on the stairs was a massive project in itself… when a single piece of nosing costs $80 you can’t afford to make mistakes, even with crazy miter cuts and intersections. But after the requisite struggle, it came together nicely.